Recording dialogue on location for video, podcasting or any other project presents a very different set of challenges to doing it in the controlled environment of the studio. Here are seven tips to get you on the right track.
We’ve already stressed this first point in our guide to home voiceover recording, and it’s even more salient here: if you’re completely new to location recording and the job at hand is an important one in any sense, you really should pay an expert to do it for you. Not only will this ensure that you get (hopefully) great results from a contractor (who you can subsequently hold responsible for the quality), but it will also give you the chance to observe their workflow and procedures first hand, which is obviously beneficial to your own development as you learn how to do it yourself. Again, Fiverr and ProductionHub are good places to start your search for qualified recordists.
Theoretically, any microphone can be pressed into service for location recording, but there are two types that are particularly well suited to the task. If you’re recording dialogue from a single, non-moving subject, and it doesn’t matter if the microphone is visible, a clip-on lavalier mic provides excellent control and sonic consistency, and is handily self-contained. It will need to be attached correctly so as to get a good signal level and avoid clothing noise, though, which we’ll come back to shortly.
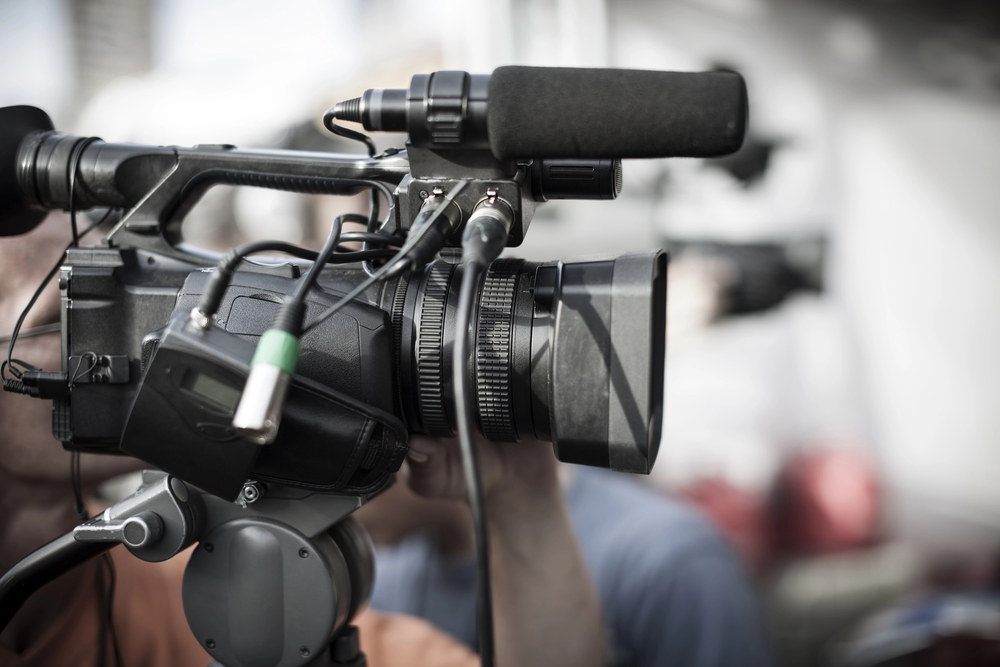
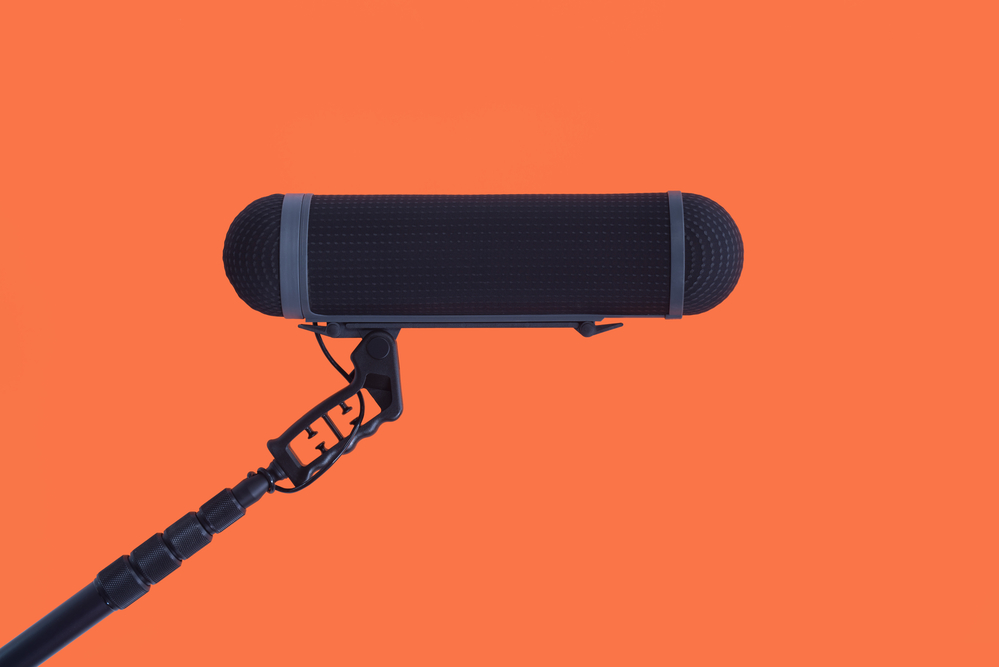
A shotgun mic, on the other hand, with its tight directionality and comparatively long range, is ideal for any situation in which the mic has to be kept out of shot, you’re recording something or someone to which a lavalier can’t be attached for whatever reason, and/or you’re looking to record several alternating sources (two or three speakers, for example). Depending on the job, you may or may not need a boom and windshield to go with it, so factor those into the cost, too.
As with any recording process, recording dialogue or other material on location requires you to be able to hear what your microphone is capturing accurately. Clearly, setting up a mobile control room with monitor speakers in place isn’t going to be an option, so a high-quality set of headphones is essential. All the usual recommendations apply here in terms of manufacturers – Audio Technica, Shure, Sennheiser, Sony, Beyer, etc – but there is one specification that must be met no matter what you go for: unless you’re working in an extremely quiet and wind-free environment, your headphones should be of the closed back type, so that as much external noise is blocked out as possible.
Whether you’re operational location is a busy town centre, a sheep-strewn hillside, a cathedral, or a moving car, anything you can do to maximise the separation of your recorded signal from its audible surroundings is worth doing. While the directionality and rejection profile of your microphone plays a major role in this, the inevitable intrusions of traffic, passers-by, wildlife, running water, electrical hum, etc, can be minimised to a certain extent through careful subject and mic positioning, general awareness, and as many retakes as required to get a usable print. And speaking of takes, when you start compiling multiple takes at the editing stage, sudden jumps in the volume or character of the background noise as you cut between them can prove ruinous, so it’s always a good idea to record a few minutes of uninterrupted environmental or room ambience while you’re on location, for layering in over any such awkward joins in order to conceal them.

Beyond the spectrum of external intrusions discussed above, there are certain even more egregious noises to be aware of that can potentially write off an otherwise solid take. Wind is famously hard to control for, but with your subject placed so as to minimise its impact and a good windshield on your mic, it can usually be sufficiently defeated. If it’s particularly windy, though, and no amount of corrective manoeuvring seems to help, you’ll either have to go somewhere else or wait until the weather has improved.
Then there’s clothing rustle and mic handling noise, both of which really must be completely eliminated. Ideally, your microphone will be on some sort of stand or at the end of a boom, with no direct human contact; but if you do have to hold it, keep it as still as possible and don’t move your hand or adjust your grip on the body of the mic at all while recording. Reducing the rustle from clothing when recording with a lavalier mic is done through the combination of material choices, careful mic positioning (towards the middle of the chest, pointing directly at the mouth) and making sure your subject doesn’t move their body when the metaphorical red light is on.
Having set everything up correctly, minimised environmental and handling sounds, and set the gain on your mic preamp so that the incoming signal averages between -12dBFS and -20dBFS, and peaks no higher than -6dBFS, it’s time to record. Before you actually get into it properly, though, always make a quick test recording and listen back to it very closely, listening out for any of the issues raised above. Then, while the recording proper is in progress, stay focused on detection of all those same potential problems, and if you even suspect any of them might have happened at any point, immediately get a second take – you don’t even need to stop and restart the recording: just keep rolling and edit it all together later.
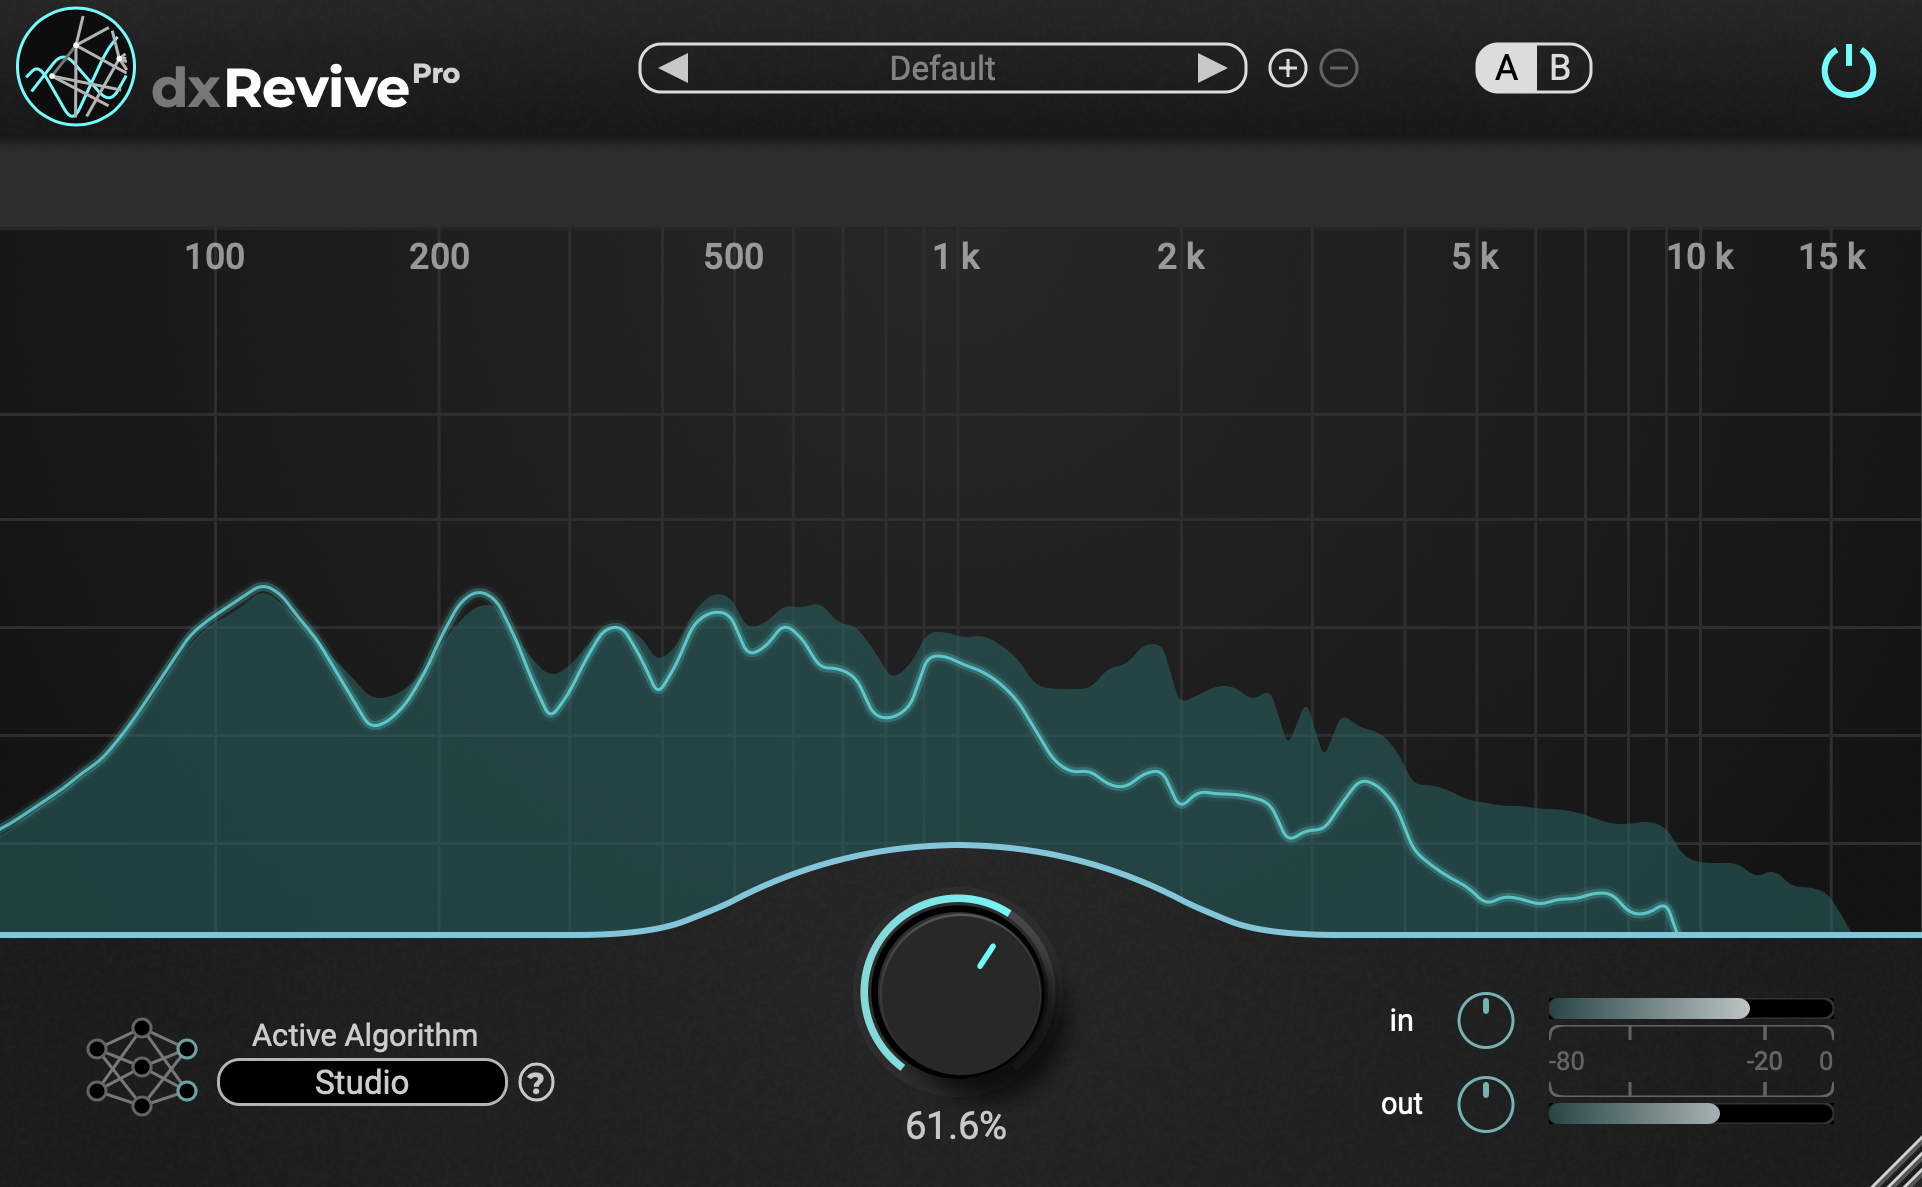
Even the most experienced location recordist will tell you that landing the perfect capture right out of the gate is incredibly difficult – sometimes impossible! – and that a certain amount of corrective editing and processing is invariably called for back in the studio. And that’s where Accentize plug-ins come in! Deploying powerful machine learning-based algorithms, VoiceGate and DeRoom Pro give you everything you need to do away with background noise and environmental reverberation respectively, while dxRevive offers both of those corrective techniques plus a variety of other processes aimed at fully repairing any dialogue track, no matter how flawed.